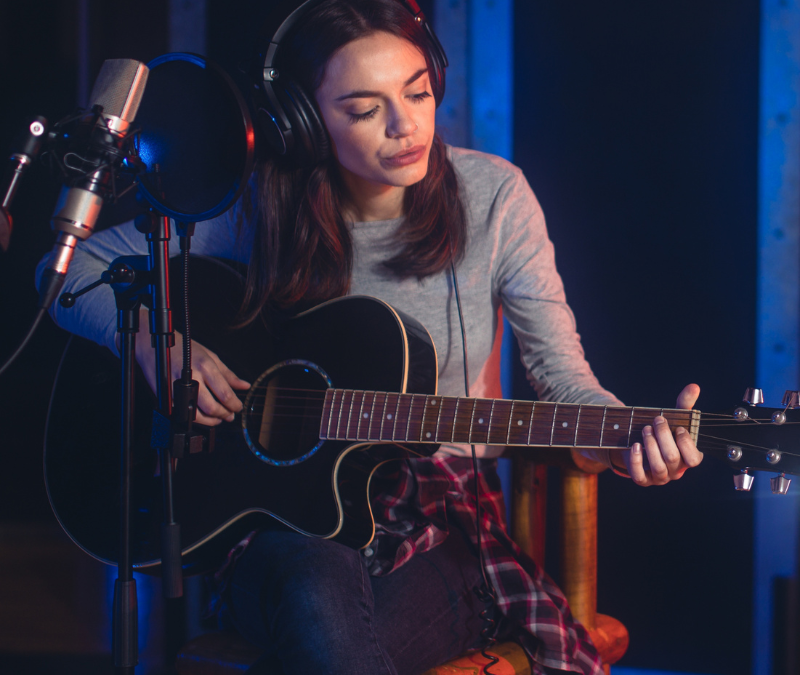
If you’ve ever picked up your guitar, played something magical, and wished you could capture it forever, learning how to record guitar at home is the answer. Recording your guitar at home doesn’t have to be complicated, intimidating, or expensive. With the right tools, techniques, and a little creativity, you can create studio-quality tracks without leaving your room.
This guide will walk you through everything you need to know—from choosing the right gear to setting up your recording space and polishing your tracks. By the end, you’ll feel confident and inspired to start recording like a pro.
Why Learn How to Record Guitar at Home?
Recording guitar at home unlocks endless possibilities. It’s not just for those who dream of releasing an album; it’s for anyone who loves playing and wants to document their musical journey. Here’s why home recording is worth learning:
- Creativity On Demand: Inspiration can strike at any time. Having a home recording setup means you can capture ideas before they slip away.
- Save Money: Studio time is expensive. With a home setup, you can record as much as you want without the clock ticking.
- Learn Valuable Skills: Recording teaches you about sound engineering, mixing, and production—skills that are invaluable for any musician.
- Share Your Music: Whether it’s a polished track for streaming or a rough demo for social media, recording at home helps you share your music with the world.
Download The FretDeck & Pentatonic Secrets Course!
Download Our Course
Essential Gear for Recording Guitar at Home
Before diving into the process, let’s talk about the equipment you’ll need. You don’t need to spend thousands to get started. Here’s a beginner-friendly gear list:
1. An Audio Interface
An audio interface is the heart of any home recording setup. It connects your guitar to your computer and converts the analog signal into a digital format.
Recommended Models for Beginners:
- Focusrite Scarlett 2i2: A popular, user-friendly choice with great sound quality.
- PreSonus AudioBox USB 96: Budget-friendly and reliable.
- Universal Audio Volt 2: Excellent for vintage-inspired tones.
Pro Tip: Look for an interface with an instrument input (Hi-Z) for direct guitar recording.
2. Digital Audio Workstation (DAW)
A DAW is the software where you’ll record, edit, and mix your tracks. There are many options, and most interfaces come bundled with beginner versions.
Great DAWs for Beginners:
- GarageBand: Free for Mac users and incredibly intuitive.
- Reaper: Affordable, fully functional, and highly customizable.
- Ableton Live Lite: Often included with audio interfaces and great for creativity.
Pro Tip: Start with a DAW that feels intuitive. You can always upgrade as your skills grow.
3. Guitar and Accessories
You likely already have a guitar, but ensuring it’s in good shape is crucial for recording. Don’t overlook these accessories:
- High-Quality Cables: Cheap cables can introduce noise. Invest in durable, shielded options.
- Fresh Strings: Old strings sound dull, so restring your guitar for the best tone.
- Guitar Picks: Experiment with different picks; they can subtly affect your tone.
4. Monitoring Equipment
Hearing your recordings clearly is essential. Studio headphones or monitors are your best bet.
Recommended Options:
- Headphones: Audio-Technica ATH-M50x or Beyerdynamic DT 770 Pro.
- Monitors: Yamaha HS5 or KRK Rokit 5.
Pro Tip: If you can’t use monitors due to noise constraints, a good pair of headphones will do the job.
Setting Up Your Recording Space
Creating the right environment is just as important as having the right gear. While you don’t need a professional studio, a well-prepared space can significantly improve your recordings.
Choosing the Right Space
Pick a room that’s quiet, has minimal outside noise, and isn’t too echoey. Carpeted rooms often work better than tiled or wooden ones, as they absorb sound.
Improving Acoustics
- Rugs and Blankets: Place rugs on hard floors and hang blankets on walls to reduce reflections.
- Foam Panels: Budget acoustic foam panels can help dampen echoes.
- DIY Solutions: Bookshelves and curtains also work well for diffusing sound.
Organizing Your Setup
Keep your gear tidy and accessible. A messy workspace can kill creativity, while an organized one keeps you focused and inspired.

Download The FretDeck & Pentatonic Secrets Course!
Download Our Course
Three Ways to Record Guitar at Home
There’s no one-size-fits-all approach to recording guitar. The method you choose depends on your gear and the sound you’re after. Here are the three most common approaches:
1. Direct Input (DI)
Recording direct input means plugging your guitar straight into your audio interface. It’s simple, clean, and versatile, especially when paired with amp simulation software.
Pros:
- Easy to set up and noise-free.
- Flexible tone-shaping with plugins like AmpliTube or Guitar Rig.
Best For:
Electric guitar and bass players who want to experiment with tones post-recording.
2. Miking Your Amp
Miking your amp captures the true tone of your guitar and amp combination. Position a dynamic mic (like the Shure SM57) near the amp’s speaker cone.
Mic Placement Tips:
- Close to the center: Brighter tone.
- Toward the edge: Warmer, darker tone.
- Experiment with distance for room ambiance.
Best For:
Blues, rock, and genres where amp tone is central.
3. Recording Acoustic Guitar
For acoustic guitars, a condenser microphone (e.g., Audio-Technica AT2020) is ideal. Place it about 6–12 inches from the guitar’s sound hole.
Mic Placement Tips:
- Aim slightly off-center to avoid booming sounds.
- Experiment with angles to find the perfect balance of warmth and clarity.
Best For:
Singer-songwriters, fingerpicking, and unplugged sessions.
Tips for Getting the Best Sound
Recording isn’t just about hitting “record.” It’s about capturing a sound that inspires you. Here’s how to get there:
- Tune Up: A perfectly tuned guitar ensures every note sings. Use a reliable tuner.
- Set Gain Levels Properly: Avoid clipping by keeping your input signal in the green zone.
- Play with Dynamics: Experiment with soft and loud sections to add emotion to your recordings.
- Use a Metronome: Stay in time to create a tight, professional feel.
Mixing and Polishing Your Tracks
Once you’ve recorded your parts, it’s time to bring everything together in your DAW.
Basic Mixing Steps
- Balance Levels: Adjust track volumes so each element sits well in the mix.
- Apply EQ: Cut muddiness in the low mids and boost clarity in the high mids.
- Add Reverb and Delay: Use effects sparingly to create depth and ambiance.
- Pan Tracks: Create space by panning rhythm guitar slightly left and leads slightly right.
Exporting Your Track
When you’re happy with your mix, export it as a high-quality audio file (WAV or MP3). Use proper naming conventions and organize your files for easy access.
Final Thoughts on Recording Guitar at Home
Learning how to record guitar at home is a game-changer for any guitarist. It opens the door to endless creativity, self-expression, and growth. Remember, it’s not about having the fanciest gear or the perfect space—it’s about experimenting, having fun, and improving over time.
So, grab your guitar, hit record, and let your music come to life.
Join Our Guitar Community 🎸
Looking for feedback on your recordings or advice from fellow guitar enthusiasts? Join the Guitar Freaks Hangout on Discord! Connect with a supportive community of players who share tips, discuss gear, and help each other grow. Click here to join today!
For more insights on enhancing your guitar practice sessions, check out our article on Practice Routine for Guitar: Ultimate Ideas and Prompts.

Join Guitar Freaks Hangout on Discord! 🎸
Get Fret Logic FREE!
Join the Guitar Freaks Hangout Discord and get exclusive access to my entire e-book, Fret Logic! Master the fretboard and elevate your solos with this comprehensive guide.
👉 Don’t miss out—join now and download your free copy!
